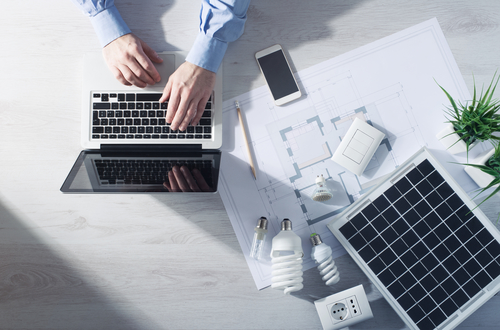
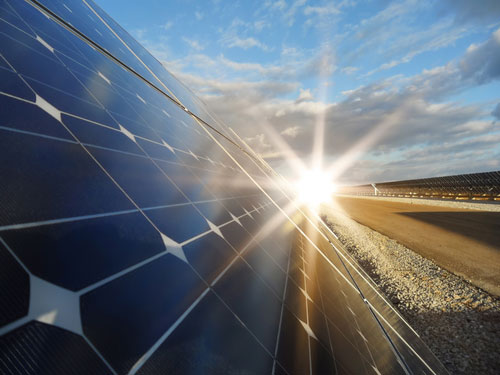
One of the most amazing innovations in the last five years has not been a new invention as the perfection of existing technology. Solar panels, which were once the territory of only the very rich and very environmentally dedicated, have gotten smaller, more efficient, and more affordable, and you don’t even need to mount them on your roof. Many people still think that solar is in the realm of “Go Big or Go Home,” but we’re here to tell you that times have changed.
Building a Solar Charging Station
While you can start your adventures into solar power generation with a full rooftop-mounted and grid-connected installation, you can actually learn about solar and build yourself a disaster-ready power generation and charging station for less than $500 and a little elbow grease. With this simple and easy to connect contraption, you’ll be able to generate enough power to slowly charge an electric vehicle or keep several mobile devices powered for as long as the equipment lasts.
What You’ll Need
Building a solar charging station is surprisingly simple because the components are now very efficient. All you need is power generation, power conversion, power storage, and the cables in between. All the parts can be bought on Amazon from various manufacturers, so compare prices and amperage until you find the right combination for your budget and power generation needs.
- Portable Solar Panels
- You don’t need a professional to affix some weather-resistant solar panels to a sunny spot and draw power. You don’t even need a stable location. Portable solar panels can be mounted, unmounted, and moved at any time, wherever you happen to need solar power.
- Solar Cables – One Red, One Black
- These will connect the solar panels (which have matching leads) to the solar controller and inverter, which will regulate the energy from the solar panels and make them useful.
- Solar Controller
- The solar controller device is part of what makes solar power so much more accessible than it used to be. It’s essentially a specialized charge controller with a useful info display screen.
- Inverter
- The inverter is what turns the DC solar energy into AC device and appliance energy. They usually have at least one power socket and often have USB ports as well. Some inverters come with their own batteries.
- Batteries
- A deep supply of battery storage ensures that you don’t waste solar power and have plenty to last you through the night and on rainy days.
- Battery Cables – One Red, One Black Per Battery
- These will connect the batteries and the solar controller, allowing the controller to balance voltage between, serve power out of them, and prevent them from over-draining.
Choose Your Structure
You can build your solar charging station on anything you want. For an electric car charge stop, you can put the panels on top of a carport and stow the rest of the equipment safely in a cabinet within. You can add them to a camp cabin or tent to power basic equipment like a camp stove or radio. With flexible panels, you can even stick them securely but temporarily to the top of your car, truck, or RV with 3-5lbs Command strips for convenient mobile device charging on road trips. The Command strips don’t damage the paint when removed, so you can experiment freely without having to make even semi-permanent alterations. Choose what you’ll mount the solar panels on and how you’ll protect the electrical equipment before getting started.
Putting Together the Charging Station
Step 1: Mount the Solar Panels
For a semi-permanent structural mount like on a shed or carport, use a metal frame and bolts to attach the solar panels to the roof of your structure. Make sure to use the right brackets and screws based on the type of roof you’re working with. Tents should rely on either foldable solar panels or those with holes so they can be tied to the top or sides. A car either permanently mounts them with a frame or temporarily mounts them with safe sticky strips.
Step 2: Emplace the Batteries
The batteries need to be in a safe, dry, moderately temperature-controlled, and stable position. Anywhere indoors is usually fine, but they need to be carefully secured in a vehicle and probably carried in a sealed box for camping.
Step 3: Place the Solar Controller
You’ll want the solar controller somewhere safe but easy to read, as it will tell you how much energy is being generated, how much is being drained, and approximately how full your collection of batteries is. Make sure it’s accessible before wiring and arrange your connections around where the solar controller needs to be.
Step 4: Connect Everything
Connect your solar panels and the solar controller with the solar power cables using parallel or serial wiring based on your amperage and voltage needs, then do the same for the batteries. If you need a converter from the batteries to the power ports you plan to use, connect this to the solar controller and its own cables.
Enjoy All the Free Energy
The sun is the most renewable energy source available to us, and now you can collect buckets of free energy every day with a simple installation. Whether you’re charging mobile devices, an electric car, a camp stove, or experimenting with everything that can be plugged into solar energy, every amp you use is one you made for yourself without a drop of fossil fuel. Now you know a lot more about solar power, can create a useful amount of electricity from anywhere, and are one step closer to a casually off-grid home with the capability of generating all the energy you need to live comfortably.

About the Author
Jen is your go-to guru for crafting a cozy, green cocoon. 🪴 Her dive into sustainable building wasn’t just about saving the planet—it started as a mission to make family movie nights eco-friendly (and to ensure the popcorn was the only thing getting heated!). With a knack for breaking down the jargon, Jen turns eco-lingo into everyday language. Swing by the Green Living blog for a mix of earth-loving advice and home improvement hacks. Whether you’re just dipping your toes into green waters or you’ve been swimming in the deep end of DIY projects, Jen’s here to guide, giggle, and remind you that every eco-choice is a step towards a planet that thanks you… and maybe even sends a rainbow your way! 🌈


