
Is your refrigerator leaking? Did the dog have an accident, and you didn’t get to it fast enough? Maybe you gouged your beautiful wood floor dragging a couch across it? Don’t worry if your floor is damaged – we’ll show you how to replace a hardwood flooring plank (or three!). Cutting out and replacing damaged hardwood floor planks takes a bit of elbow grease, time, and the right set of tools – anyone can do it! If you have a scratch but don’t think the bamboo plank(s) needs replacing, learn how to refinish bamboo flooring.
In this post, we provide a simple guide to removing and repairing your scratched, stained, and otherwise damaged flooring planks back to their beautiful best! Water damage can also affect sub-floors, so you may need to study up on how to fix a water damaged sub-floor before you begin effectively.
Tools needed:
- Circular Saw
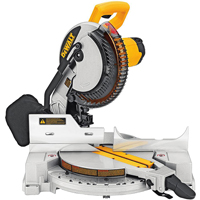
- Miter Saw
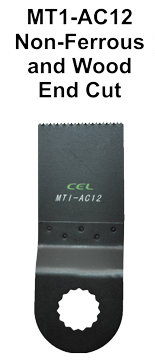
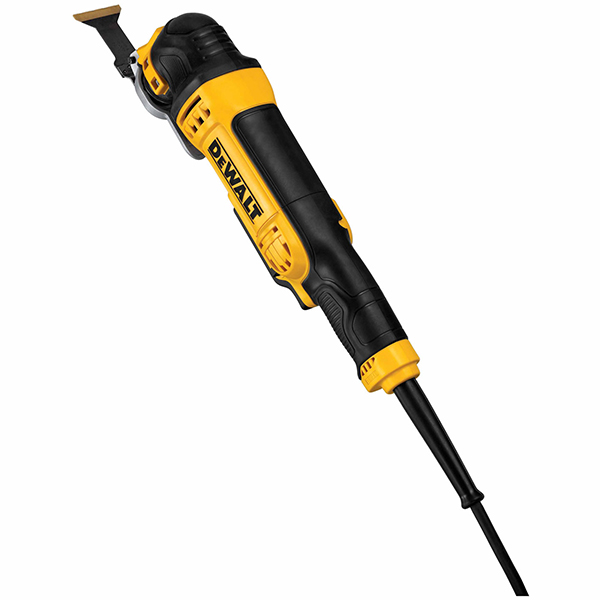
- Oscillating Multi-Tool with MT1-AC12 accessory
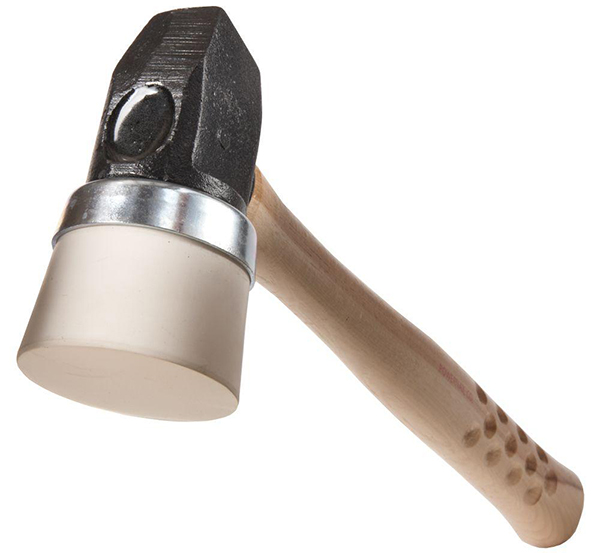
- Rubber Mallet
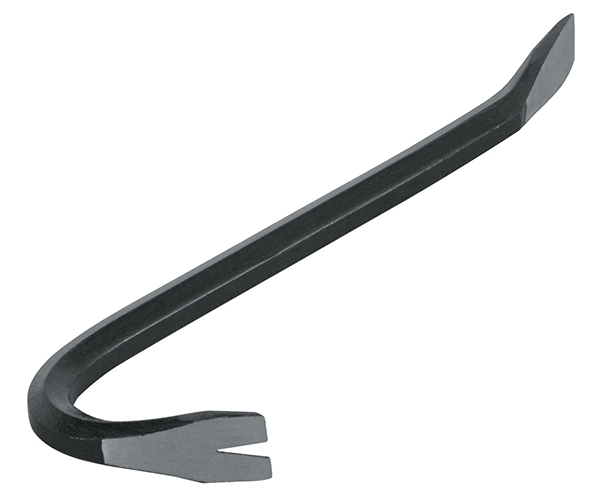
- Crowbar
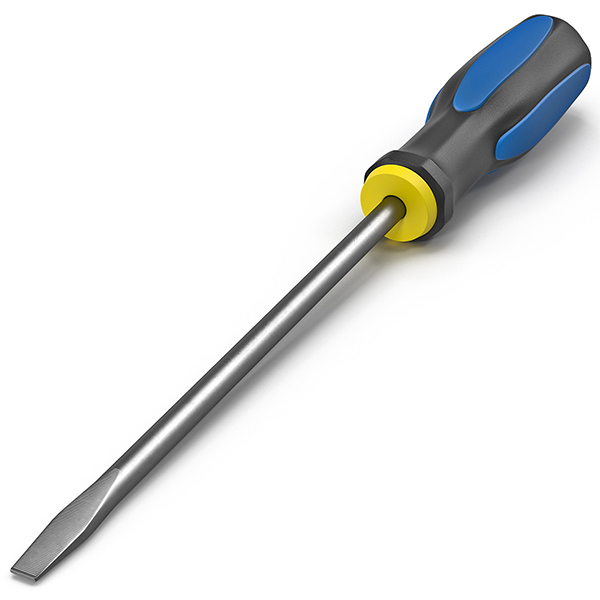
- Flathead Screwdriver
- Flooring Adhesive
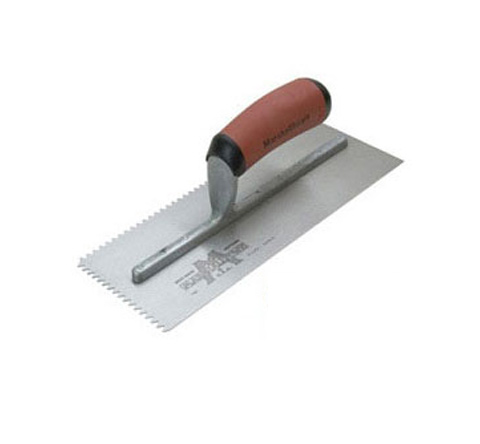
- Trowel
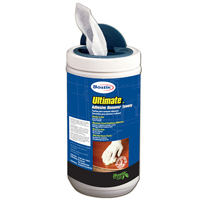
- Adhesive Remover Towels
- Wood Flooring Adhesive
- Adhesive Trowel
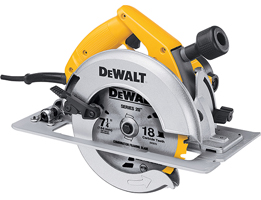
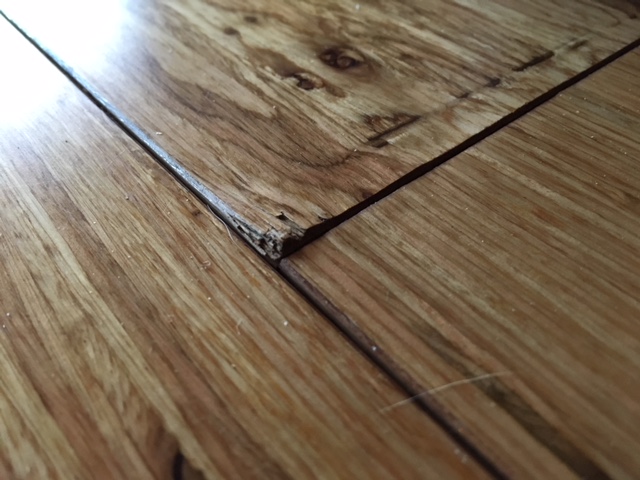
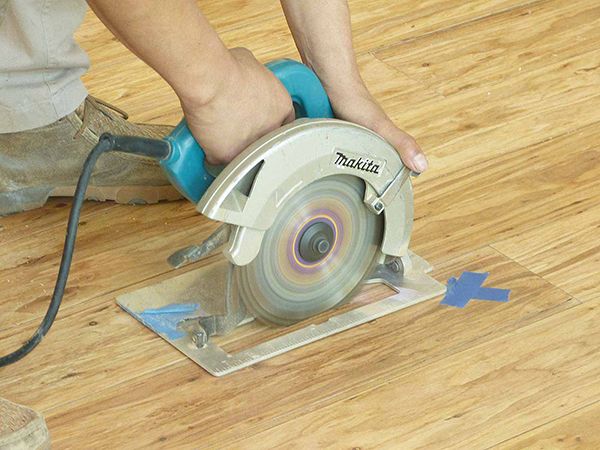
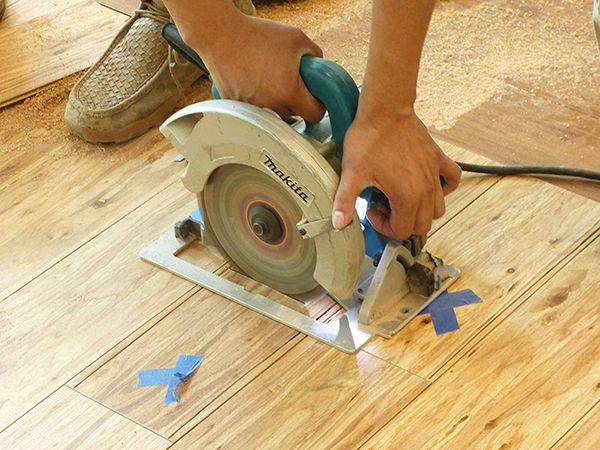
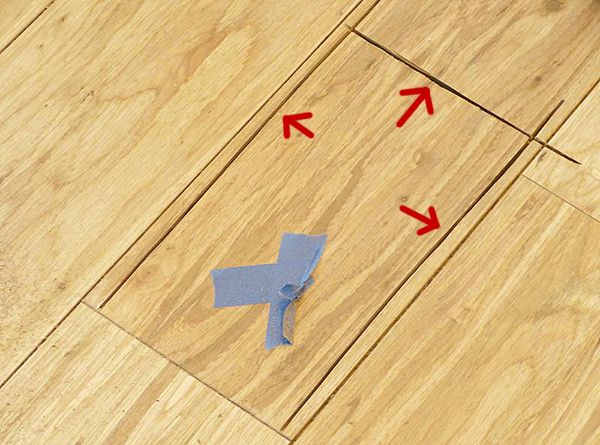
Step 1. Using the circular saw, carefully cut along the plank’s seams, keeping inside the plank’s edge by a half-inch. Make sure you are cutting all the way through the plank. Next, cut across the plank center connecting the two previous cuts to form an “H.”
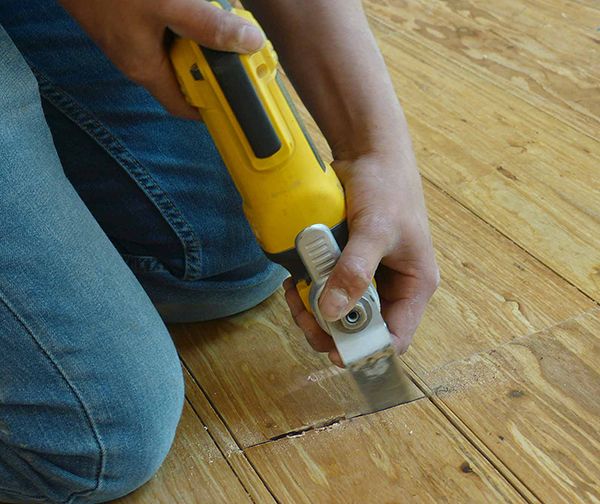
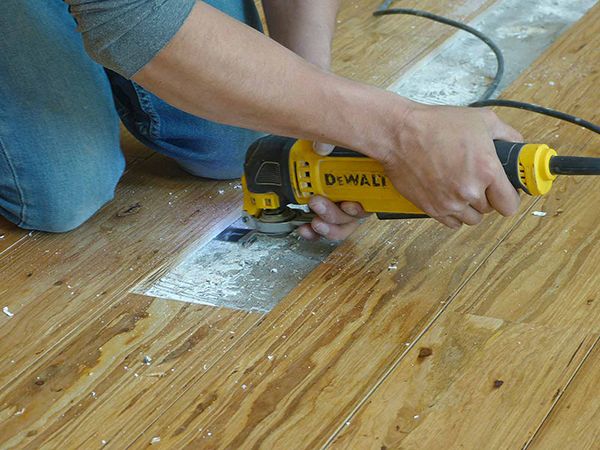
Step 2. Go over all of the previous cuts that were made with the circular saw with the oscillating multi-tool. This ensures that the cuts will have gone down to the subfloor.
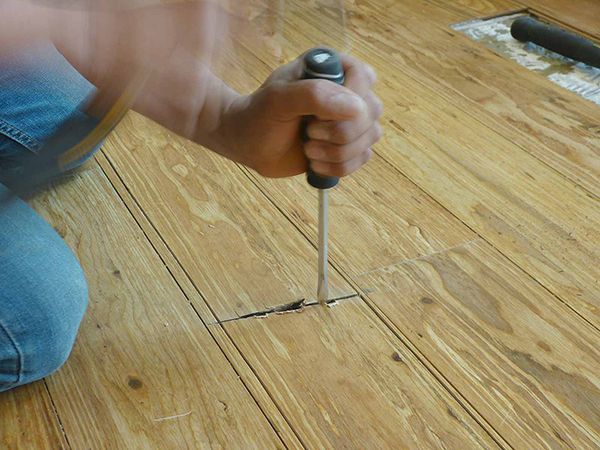
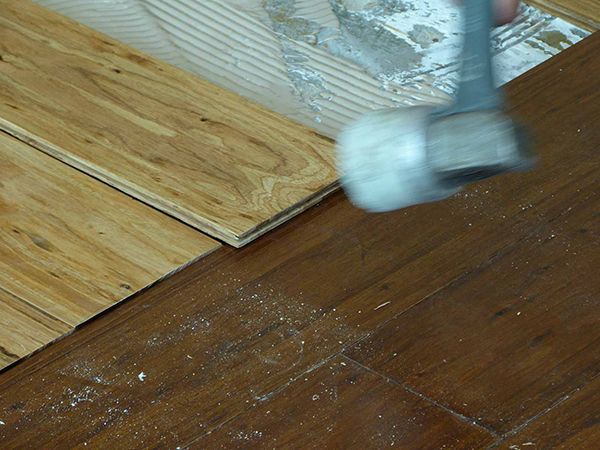
Step 3. Wedge the flathead screwdriver into the center cut and tap it down using your rubber mallet. You will want to use a combination of tapping and prying, which will begin to lift a portion of the plank. The goal is to create a large enough gap to fit the end of the crowbar.
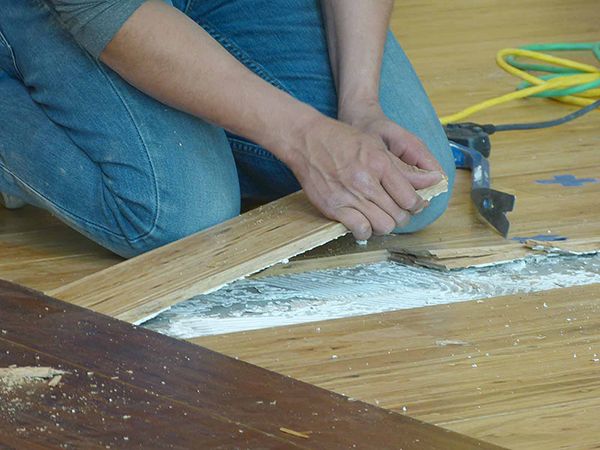
Step 4. Once you can tap the crowbar into the cut, you will have more leverage to pry up the plank pieces. After hammering and prying with the crowbar for a bit, you should be able to remove the plank pieces with your hands carefully.
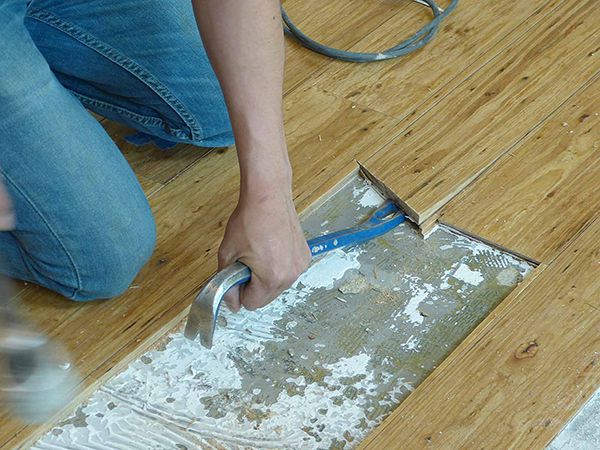
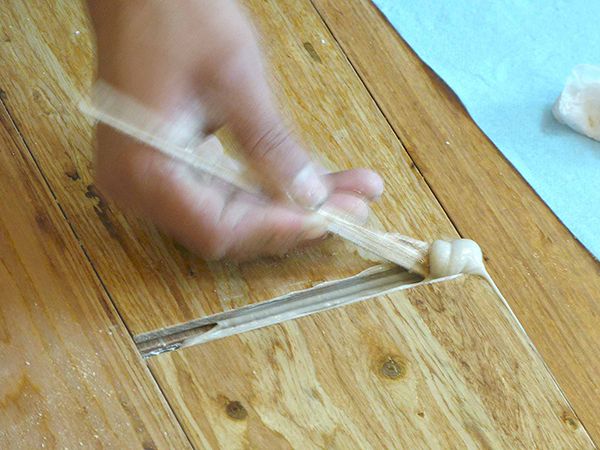
Step 5. Bring out the oscillating multi-tool again. You will use this to scrape up any dried glue and cut and remove any plank’s remaining pieces. After all glue and plank pieces have been removed, you will be ready to start to glue (how to glue down bamboo flooring).
Step 6. Measure out how long your replacement plank needs to be and cut it using the miter saw. If you are replacing a plank with a whole plank, you might need to trim down either the tongue or the bottom groove for the plank to fall in place.

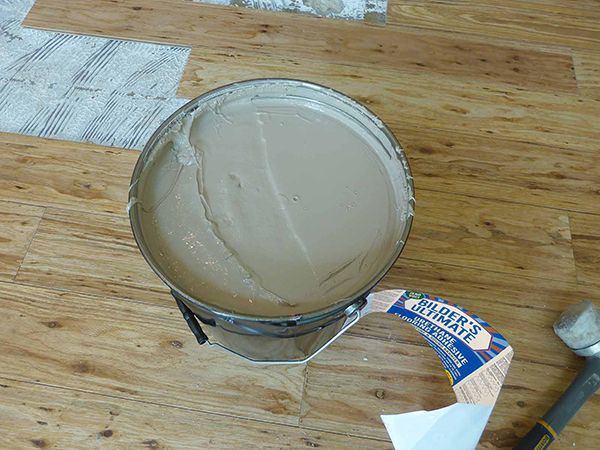
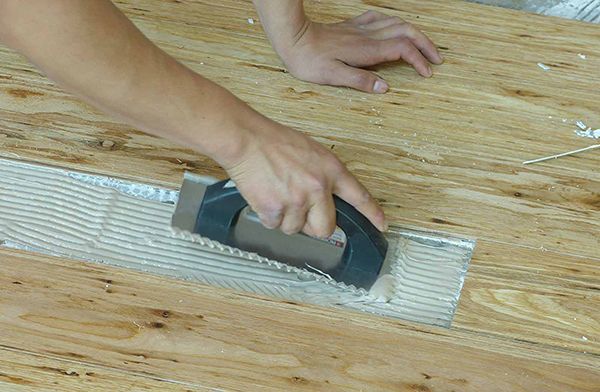
Step 7. Open up the pail of glue and make sure that it isn’t dried out or separating. Carefully spread the glue, making sure to completely cover the subfloor from edge to edge with an even coat.
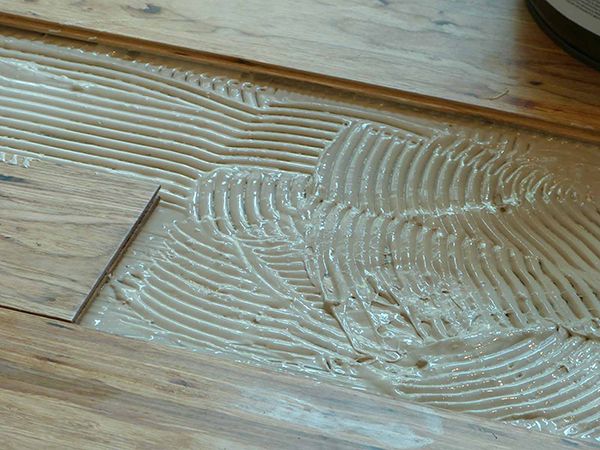
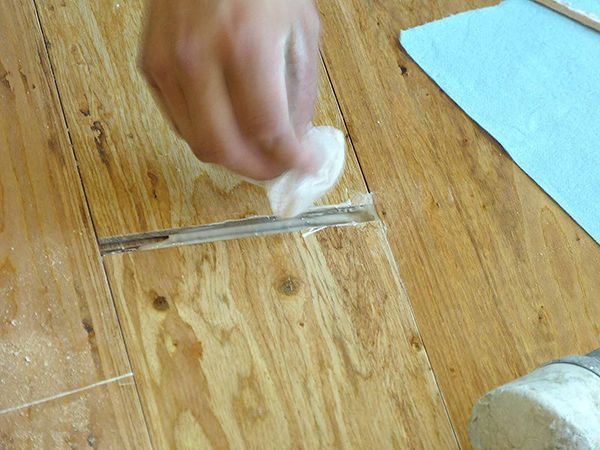
Step 8. If needed, gently tap the plank into place with the rubber side of the mallet. Lots of little taps are recommended over powerful hits. As the plank slides into place, glue might accumulate and get on top of the plank. You will want to make sure to wipe up the majority of the glue with a paper towel. Next, go over the same area with multiple adhesive remover towels. Finally, it is recommended to wipe up any residue with paper towels. That way, you will tell if there is a haze from any glue left on the surface. You may need to repeat this process.

Step 9. Press down with your hands to ensure the plank is pressed into the glue sufficiently. Tap the plank’s surface with the rubber mallet to center the plank to where the seams are uniform. You may want to weigh down the plank with a heavy object overnight.


NOW CHECKOUT OUT YOUR JOB WELL DONE!
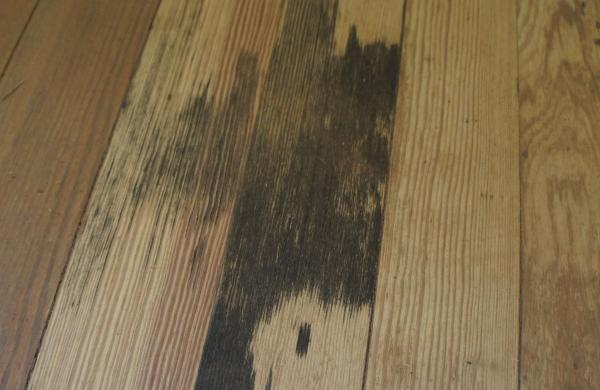
BEFORE PLANK REPLACEMENT
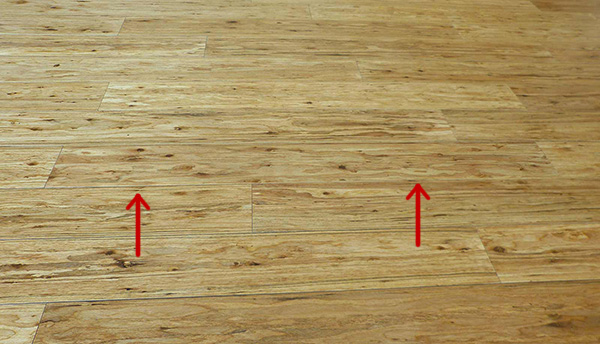
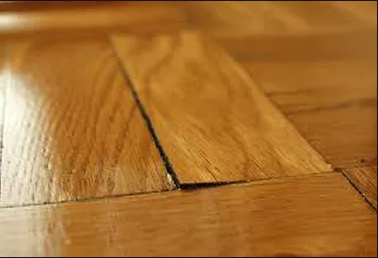
AFTER PLANK REPLACEMENT
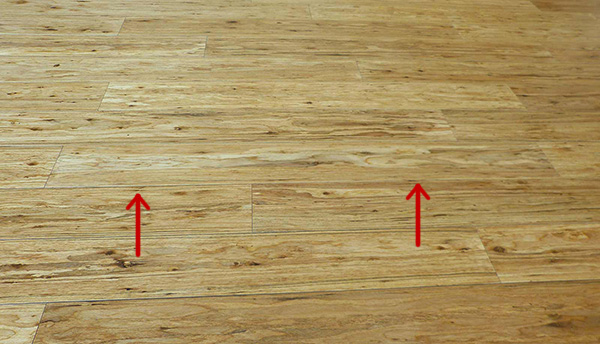
When done properly, you won’t even be able to tell any work has been done!


About the Author
Jen is your go-to guru for crafting a cozy, green cocoon. 🪴 Her dive into sustainable building wasn’t just about saving the planet—it started as a mission to make family movie nights eco-friendly (and to ensure the popcorn was the only thing getting heated!). With a knack for breaking down the jargon, Jen turns eco-lingo into everyday language. Swing by the Green Living blog for a mix of earth-loving advice and home improvement hacks. Whether you’re just dipping your toes into green waters or you’ve been swimming in the deep end of DIY projects, Jen’s here to guide, giggle, and remind you that every eco-choice is a step towards a planet that thanks you… and maybe even sends a rainbow your way! 🌈